

So, you're looking to put a finish on your hardwood floors, huh? It's a big job, and honestly, picking the right hardwood flooring sealant can feel like a whole other project. There are a bunch of options out there, and they all promise to protect your floors, but what's the real difference? We're going to break down what you need to know about choosing and using hardwood flooring sealant so you can get that nice, finished look without too much headache. Let's get started.
Key Takeaways
- Water-based sealants are the modern choice, offering quick drying and low odor, while oil-based sealants provide a traditional, durable finish.
- Proper surface prep, including thorough cleaning and sanding, is super important for the sealant to stick well and last.
- Applying hardwood flooring sealant evenly takes practice; always mix two-component products correctly and follow drying times.
- Troubleshooting common issues like streaks or bubbling involves understanding application techniques and product properties.
- Regular cleaning and using the right maintenance products will help your sealed hardwood floors look good for a long time.
Understanding Hardwood Flooring Sealant Options
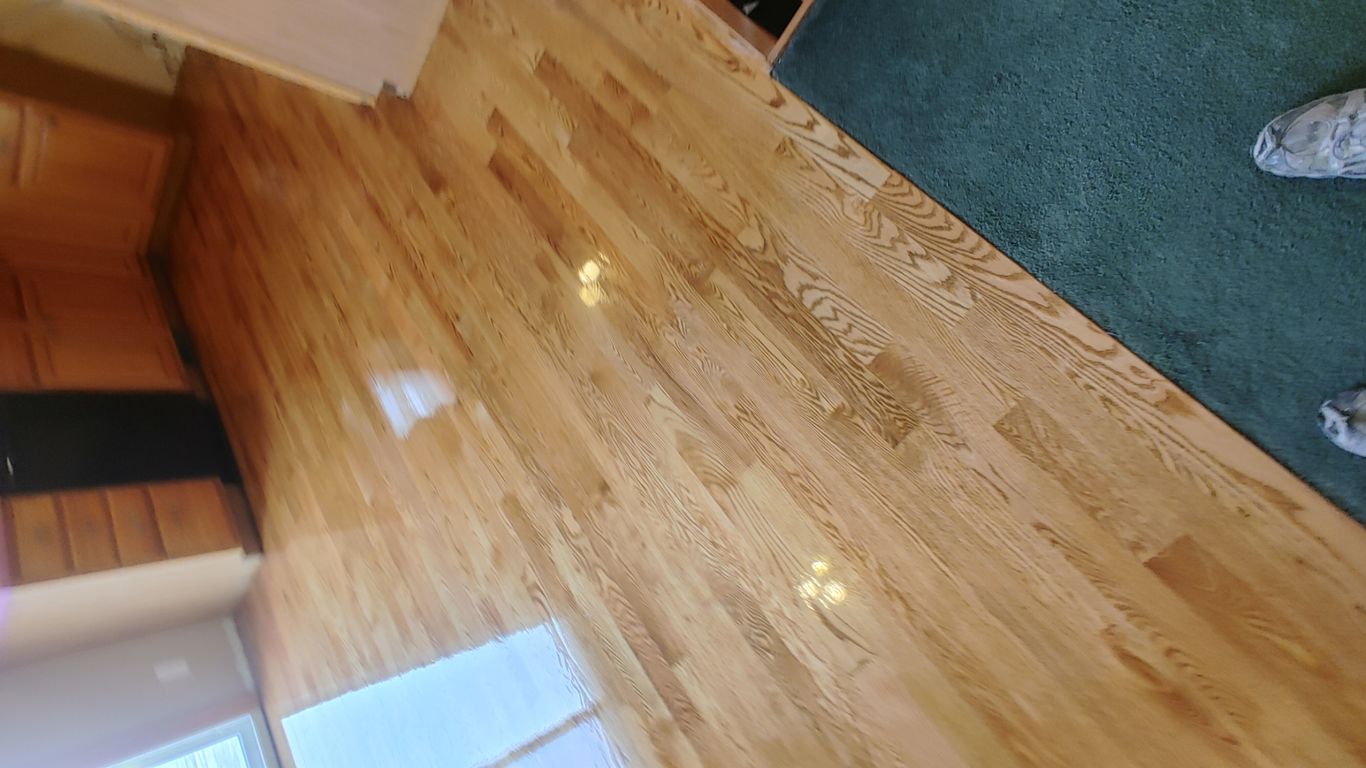
When it comes to protecting your hardwood floors, choosing the right sealant is key. It's not just about making them look good; it's about durability, longevity, and how well they stand up to daily life. We've got a couple of main types to consider, each with its own set of pros and cons. Think of it like picking the right tool for the job – you wouldn't use a hammer to screw in a bolt, right? Same idea here.
Water-Based Sealants: The Modern Choice
Water-based sealants have really taken over the market, and for good reason. They're known for being low in VOCs (volatile organic compounds), which means less smell and a quicker return to using your floors. They also tend to dry faster, letting you get back to your routine sooner. Plus, they dry clear, so they don't really change the natural color of your wood. This is a big deal if you've got a specific look in mind, especially with lighter woods like maple or white oak.
- Low VOCs and Odor: Much better for indoor air quality.
- Fast Drying Times: Recoat in as little as 2-3 hours.
- Clarity: Maintains the natural color of the wood without yellowing.
- Durability: Modern formulations offer excellent scratch and wear resistance.
These finishes are great for pretty much any situation, from a busy family home to a commercial space. They're easy to work with, too, often having a good open time so you can apply them evenly without getting streaks. If you're looking for a modern, eco-friendly option that still packs a punch in terms of protection, water-based is usually the way to go. We've seen great results with products like Loba Easy Finish for a professional-grade, clear coat.
Oil-Based Sealants: Traditional Performance
Oil-based sealants have been around for a long time, and they've got a solid reputation. They tend to create a slightly warmer, amber tone on the wood, which some people really like, especially on darker woods or for a more traditional look. They're known for being really tough and durable, forming a hard shell that can take a beating. The downside? They have a much stronger odor and higher VOC content, meaning you'll need good ventilation and more time before you can use the floor again. They also tend to yellow over time, which can alter the floor's appearance.
- Durability: Forms a very hard, protective layer.
- Warm Tone: Adds a natural amber hue to the wood.
- Cost-Effective: Often a more budget-friendly option upfront.
- Longer Open Time: Can be easier to apply evenly for beginners.
While they might take longer to dry and have a stronger smell, oil-based sealants are still a reliable choice for many projects. They offer a classic finish that many homeowners and contractors have trusted for years. Just be prepared for the cleanup and ventilation requirements.
The Role of Primers in Sealing Hardwood
Now, let's talk about primers. You might think of them as just an extra step, but they can actually make a big difference in the final outcome. A good primer acts like a foundation for your sealant. It helps the topcoat stick better, which means fewer chances of peeling or flaking down the road. Primers can also help even out the color of the wood, especially if you're staining, or they can add a bit of warmth or clarity depending on the type.
- Improved Adhesion: Creates a better bond between the wood and the sealant.
- Color Uniformity: Helps prevent blotchiness, especially with stains.
- Surface Sealing: Can reduce the amount of topcoat needed.
- Specific Tones: Some primers add a subtle amber tone for warmth.
Using a primer is especially important on certain wood species that might be prone to issues like side-bonding or color changes. For instance, an amber-toned primer like LOBA Amber Prime can provide a consistent base and enhance the wood's natural color before you even apply your main sealant. It’s an extra step, sure, but it often leads to a more professional and longer-lasting finish. Think of it as prepping a canvas before painting – it just makes the final result that much better.
Selecting the Right Hardwood Flooring Sealant
Choosing the correct sealant is a big step in making sure your hardwood floors look great and last a long time. It's not just about picking a can off the shelf; you've got to think about how the floor will be used, what kind of wood you have, and what look you're going for. Getting this right from the start saves a lot of headaches down the road.
Assessing Floor Traffic and Durability Needs
Think about who and what will be walking on your floors. A busy family home with kids and pets needs something tougher than a quiet guest room. High-traffic areas, like hallways and living rooms, require sealants that can stand up to a lot of wear and tear. Professional-grade finishes, especially two-component water-based options, are built for this kind of abuse. They offer superior abrasion resistance and can handle spills and scuffs much better than standard finishes. For areas with less foot traffic, you might have more flexibility, but it's always better to err on the side of caution and choose a durable product.
- High-Traffic Areas: Hallways, living rooms, kitchens, entryways.
- Medium-Traffic Areas: Dining rooms, family rooms.
- Low-Traffic Areas: Bedrooms, guest rooms, home offices.
Matching Sealant to Wood Species and Existing Finish
Different wood species have different densities and grain structures, which can affect how a sealant penetrates and looks. For example, softer woods like pine might show wear more quickly and can sometimes absorb stain unevenly. Harder woods like oak or maple are generally more forgiving. If your floor has been previously finished, you need to know what kind of finish is on there. Applying a new sealant over an incompatible old one can lead to peeling or poor adhesion. Water-based sealants are generally compatible with most existing finishes, but it's always a good idea to test in an inconspicuous area first. If you're unsure, a professional-grade primer can help create a good bonding surface.
Considering Desired Sheen and Aesthetic
The sheen level of your sealant plays a huge role in the overall look of your floor. Sealants come in various sheens, from ultra-matte to high gloss.
- Matte/Satin: These offer a more natural, low-sheen look that hides minor imperfections and scratches well. They're great for a modern, understated appearance.
- Semi-Gloss/Gloss: These provide a shinier finish that reflects more light. They can make a room feel brighter but also tend to show dust, scratches, and scuffs more readily.
Beyond sheen, consider the color. Some sealants add a slight amber tone, while others are designed to be completely clear, preserving the wood's natural color. If you're aiming for a specific look, like a Scandinavian-inspired pale wood or a rich, deep tone, make sure your sealant choice complements that goal. For those wanting the wood to look as natural as possible, an "invisible" or ultra-matte finish is the way to go. Bailey Flooring Supplies has a range of options to fit different styles. Check out their water-based finishes to see what might work for your project.
Essential Surface Preparation for Sealant Application
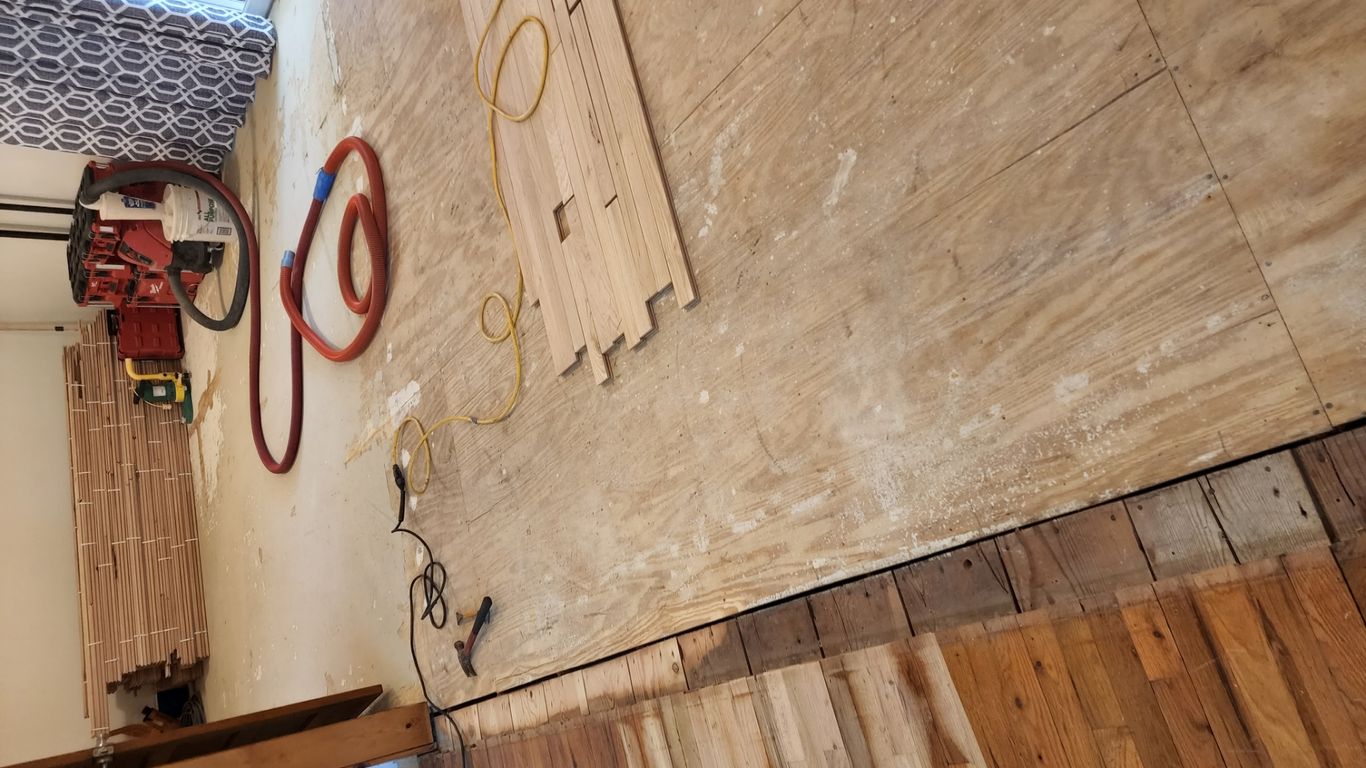
Before you even think about opening that can of sealant, you need to get the floor ready. This isn't just about making it look good; it's about making sure the sealant actually sticks and does its job for years to come. Skipping steps here is like building a house on sand – it's just not going to last.
Thorough Cleaning and Debris Removal
First things first, you gotta get this floor spotless. We're talking about removing every speck of dust, dirt, grease, wax, or anything else that might have found its way onto the wood. If you're working on a refinished floor, make sure all the old finish and sanding dust are gone. For new installations, check for any construction dust or residues.
- Vacuum thoroughly: Get into every corner and crevice. A good shop vac is your best friend here.
- Wipe down with a solvent or cleaner: Depending on what contaminants you're dealing with, a specific cleaner might be needed. For general dirt, a damp cloth might do, but for anything greasy, you'll need something stronger. Just make sure whatever you use is compatible with your sealant and doesn't leave its own residue.
- Inspect for any remaining debris: Get down low and really look. Sometimes dust bunnies hide in plain sight.
Proper Sanding Techniques for Optimal Adhesion
If you're refinishing, sanding is key. The goal here is to create a smooth, uniform surface that the sealant can grip onto. You're not just trying to remove the old finish; you're creating a profile for the new one.
- Start with the right grit: For most jobs, you'll start with a coarser grit (like 60 or 80) and work your way up to finer grits (100, 120, or even 150). The final grit depends on the sealant you're using – check the manufacturer's recommendations.
- Sand with the grain: Always move your sander in the direction of the wood grain. Going against it will leave scratches that are tough to get out later.
- Edge sanding and detail work: Don't forget the edges and corners. Use an edge sander or a hand scraper to get these areas smooth.
The surface needs to be perfectly clean and smooth for the sealant to bond correctly. Any leftover dust or imperfections will show up in the final finish and can cause adhesion problems down the line.
Final Dust Removal Protocols
This is the last chance to get rid of dust before you seal. You can't be too careful here. Even a tiny bit of dust can ruin the finish.
- Vacuum again: After sanding, vacuum the entire floor one more time. Use a brush attachment to get closer to the wood.
- Tack cloth is your friend: Use a good quality tack cloth to wipe down the entire floor. These sticky cloths pick up the finest dust particles that vacuuming might miss.
- Work systematically: Start at the farthest point from your exit and work your way backward. This way, you don't walk over freshly cleaned areas.
Following these steps meticulously will set you up for a smooth, durable sealant application that looks great and lasts.
Applying Your Chosen Hardwood Flooring Sealant
Getting the application of a hardwood flooring sealant right is less about fancy words and more about doing each step methodically. Every pro knows a good sealant job is all in the prep, timing, and how even you lay it down. Here’s a detailed guide to help you achieve a finish you’ll actually be proud to show off to your client (or, hey, your own family).
Mixing and Preparing Two-Component Sealants
Some water-based finishes—like Bailey’s top pro-grade options—come in two parts: the base and the hardener. Proper mixing is what locks in durability—skip it, and you’re wasting your time. Here’s how most contractors do it:
- Read the manufacturer instructions (and yes, every brand is a bit different)
- Pour component B (the hardener) into component A (the base)
- Stir with a mixing paddle for at least 2–3 minutes—scraping the sides as you go
- Let it sit a few minutes to let bubbles rise out
Never guess the mix ratio, always measure it out—otherwise your floor could end up patchy, soft, or just won't cure right.
Techniques for Even Application
Even application is where skill shows. Water-based finishes like Bailey Flooring Supplies’ line benefit from simple, efficient techniques:
- Use a quality microfiber roller or T-bar for water-based products
- Start in a corner and work your way out—keep a "wet edge" to prevent overlap lines
- Apply thin, consistent coats rather than flooding the floor; this stops puddling and uneven drying
- Don’t overwork the finish; lay it and leave it
A lot of folks prefer to use high-end applicators (like the Applicator 90), especially for big spaces where a consistent feed really matters. For smaller jobs, a basic roller works, provided it’s lint-free and clean. If you want a trusted tool, the Bona V-Notch Trowel is a mainstay.
Understanding Drying and Recoat Times
The temptation to rush the drying process gets everyone, but the finish only performs if each coat hardens correctly. Here’s a sample chart for Bailey’s water-based finishes (actual times can vary):
| Step | Typical Time (70°F, 50% RH) |
|---|---|
| Between Coats | 2–3 hours |
| Light Foot Traffic | 24 hours |
| Full Cure | 5–7 days |
- Make sure the room has decent ventilation and is within the recommended temperature range.
- If sanding between coats, only use fine abrasive (220 grit or higher), and always remove dust before recoating.
- Heavy furniture shouldn’t go back for a week at least, no matter how tough the finish claims to be.
"A rushed job always leaves you with more work later—the patience during drying is what separates a true pro from a DIY-er."
With the right system, steady technique, and just respecting the dry times, Bailey Flooring Supplies water-based finishes will give you tough protection, real clarity, and rich wood tone—without strong odors or yellowing. If you want your results to rival the best in the business, stick to each of these steps and trust your process over the urge to finish fast.
Pro Tip: If you ever feel stuck or unsure, Bailey Flooring Supplies has an NWFA-certified team ready to advise on water-based finishes, application tricks, and troubleshooting—don't hesitate to reach out.
Achieving Professional Results with Sealant
When applying multiple coats of hardwood floor sealant, attention to detail between layers is everything. After your first coat dries, it’s common for tiny imperfections or raised wood grain to show up. To smooth things out, grab a fine abrasive (typically a 220 grit screen or pad) and give the floor a gentle, even pass. Don’t press too hard—you’re just knocking off high spots for that silky feel.
After abrasion, thorough dust removal is critical. Use a powerful vacuum with a new filter or bag, and follow up with a damp, lint-free cloth or a tack pad. Whatever you do, don’t skip this step—leftover dust will ruin your next coat’s look and adhesion.
- Use a fine abrasive pad (180–220 grit)
- Vacuum all surfaces, including corners
- Wipe with a water-dampened microfiber or industry-approved tack pad
This phase sets the baseline for a level, smooth coat and ensures your finish bonds to the wood, not to a layer of dust.
Applying the Final Sealant Coat
The finish coat is where everything comes together and all your prep pays off. For the best results, use a high-quality roller or T-bar applicator made for water-based finishes—these tools help lay down a thin, even layer with minimal streaking.
Here’s a quick checklist for the last coat:
- Stir the product as recommended. Don’t shake to avoid bubbles.
- Pour into a paint tray or finish bucket as you move across the floor.
- Work with the wood grain in steady, overlapping passes.
- Feather out edges and stop marks for a seamless blend.
- Watch your lighting—this shows you where you’ve missed a spot or left a line.
Ideally, the room should be free of dust, drafts, and foot traffic until the coat is touch-dry. A fan or HVAC running on low helps but keep air movement minimal.
Curing Times and Protecting Your Work
Water-based hardwood finishes usually dry to the touch within a few hours, but curing is a longer process. While the surface feels dry, the sealant underneath is still hardening. Light foot traffic is OK after 24 hours; for heavy furniture, you might need to wait up to a week.
| Activity | Water-Based Sealant | Oil-Based Sealant |
|---|---|---|
| Light foot traffic | 24 hours | 36–48 hours |
| Replace furniture | 3–7 days | 7–14 days |
| Rug/carpet placement | 7–14 days | 14–30 days |
To protect your new finish while it cures:
- Avoid dragging furniture—lift and use felt pads
- Hold off on area rugs until the cure time is up
- Clean only with approved wood cleaners like Bona Deep Clean for everyday dirt
The longer the finish cures before heavy use, the tougher and more durable it’ll be in real life.
Final tip: Bailey Flooring Supplies’ pro-grade water-based finishes give you excellent durability and clarity if you follow these steps. With the right application process, you get floors that last—and a finish that stands up to real-world messes, pets, and sunlight without yellowing or haze.
Troubleshooting Common Sealant Application Issues
Even with the best preparation and the highest quality sealant, sometimes things don't go exactly as planned. Don't sweat it. Most common issues can be fixed with a little know-how. Let's break down what to do when you run into trouble.
Addressing Streaks and Uneven Coverage
Streaks or patchy spots usually happen when the sealant isn't applied evenly. This can be due to the applicator drying out, not enough product on the roller, or inconsistent pressure during application. It's a common problem, especially on larger areas or if you're working in a warm, dry environment that speeds up drying.
- What to do: If the sealant is still wet, try to feather out the uneven areas with your applicator. For dried sealant, you might need to lightly sand the affected spots with fine-grit sandpaper (like 220-grit or higher) and then reapply a thin, even coat. Make sure your applicator stays wet and loaded with product. Work in consistent, overlapping strokes, and always follow the grain of the wood. Using a high-quality roller designed for finishes, like those recommended for water-based products, can make a big difference.
Preventing Bubbling and Poor Adhesion
Bubbles in the finish can be caused by applying the sealant too thickly, working it too much, or applying it over a surface that wasn't properly cleaned or prepped. Poor adhesion, where the finish peels or flakes later on, is often a result of inadequate sanding, contamination (like wax or grease), or applying the sealant in temperatures that are too cold or too hot.
- Causes of Bubbling:
- Applying sealant too thick.
- Excessive working of the product with the applicator.
- Applying over dust or debris.
- Causes of Poor Adhesion:
- Insufficient sanding or failure to remove sanding dust.
- Contamination on the wood surface.
- Applying in improper temperature or humidity conditions.
Pro Tip: Always ensure your floor is meticulously clean and dust-free before applying any coat. A final wipe with a tack cloth or a recommended cleaning solution can prevent many adhesion problems. For water-based finishes, pay close attention to the recommended temperature and humidity ranges specified by the manufacturer.
Dealing with Color Inconsistencies
Uneven color can pop up if you're working with a tinted sealant or stain, or if the wood itself has natural variations that weren't accounted for. Sometimes, inconsistent application pressure or not stirring the product enough before and during use can lead to darker or lighter patches.
-
Solutions:
- Stir, Don't Shake: Always stir sealants and stains thoroughly, but avoid vigorous shaking, which can introduce air bubbles. Stir frequently during application.
- Consistent Application: Maintain even pressure and consistent speed with your applicator. Overlap your passes slightly to blend areas.
- Test Patch: If you're concerned about color, always do a test patch in an inconspicuous area first. This lets you see how the sealant will look on your specific wood and with your application technique.
- Sanding and Reapplication: For minor inconsistencies on a dried coat, light sanding and reapplication might help. For significant issues, you may need to strip and reapply the finish. If you're using a tinted sealant, consider using a primer like LOBA EasyPrime Professional Wood Floor Primer to create a more uniform base, especially if you're applying a stain or a tinted topcoat over varied wood species.
Maintaining Your Sealed Hardwood Floors
Keeping your hardwood floors looking sharp after you've put in the work to seal them is pretty straightforward, but you can't just forget about them. Regular care is key to making that finish last and keeping your floors looking good for years. It’s not about harsh chemicals or endless scrubbing; it’s about consistent, gentle attention.
Regular Cleaning Practices
Daily upkeep is your first line of defense. The goal here is to remove grit and dust before they can scratch the sealant. Think of it like dusting your furniture – you do it regularly to keep things looking nice. For hardwood, this means:
- Sweep or vacuum daily: Use a soft-bristle broom or a vacuum cleaner with a hard floor attachment. Make sure the beater bar is turned off so it doesn't scratch the finish.
- Address spills immediately: Don't let liquids sit on the floor. Wipe them up with a soft, dry cloth as soon as they happen. This is especially important for water, as prolonged exposure can still affect the wood over time.
- Use doormats: Place mats both inside and outside entryways to catch dirt and moisture before it gets tracked onto your floors.
Using Approved Maintenance Products
When it's time for a more thorough clean, you need to be careful about what you use. Harsh cleaners can break down the sealant over time, dulling the finish and making it more susceptible to damage. Stick to products specifically designed for sealed hardwood floors.
- pH-neutral cleaners are best: Look for cleaners that are labeled as safe for hardwood floors. Products like LOBA Parkett Soap R2U are formulated to clean effectively without stripping the finish.
- Damp mopping is sufficient: You don't need to flood the floor. Use a well-wrung-out mop – think damp, not wet. Too much water can seep into the wood and cause issues.
- Avoid abrasive cleaners and tools: Steel wool, scouring pads, and powdered cleaners can scratch the sealant. Always opt for soft cloths or microfiber mops.
Protecting Against Wear and Damage
Beyond cleaning, there are a few other things you can do to protect your sealed floors from everyday wear and tear. These simple steps can make a big difference in the longevity of your finish.
- Felt pads on furniture: This is a big one. Make sure all furniture legs have felt protectors. Check them regularly and replace them when they get worn down or dirty, as embedded grit can act like sandpaper.
- Trim pet nails: Keep your pets' nails trimmed to minimize scratching, especially in high-traffic areas.
- Avoid dragging heavy items: When moving furniture or appliances, lift them rather than dragging them across the floor. If you have to slide something, use furniture sliders designed for floors.
Proper maintenance isn't just about keeping your floors looking good; it's about preserving the protective layer you've applied. A little effort goes a long way in preventing premature wear and keeping your investment looking its best.
By following these simple maintenance routines, you'll help your hardwood flooring sealant perform at its best, keeping your floors beautiful and protected for years to come. Remember, the right cleaning products and a bit of care can prevent most common issues before they start.
Professional Tools for Sealant Application
When you're getting ready to seal your hardwood floors, having the right tools makes a huge difference. It's not just about the sealant itself; it's about how you put it on. Using the wrong stuff can lead to streaks, uneven coats, and a finish that just doesn't look right. We've seen it all, and trust us, investing in good tools upfront saves you a lot of headaches later.
High-Quality Applicators and Rollers
For most jobs, especially residential ones, a good quality roller and a few different types of applicators are your best friends. You want something that lays down a smooth, even coat without leaving lint behind. For water-based finishes, microfiber rollers are usually the way to go. They hold a good amount of product and release it evenly. For edges and corners, a good brush or a specialized hand pad is key. Trying to use a cheap roller or a brush not meant for finishes will just make your life harder.
- Microfiber Rollers: Look for ones specifically designed for water-based finishes. They offer a smooth, lint-free application.
- High-Quality Brushes: For cutting in edges and getting into tight spots, a good synthetic brush works well. Avoid natural bristles with water-based products.
- Hand Pads: These are great for detailed work and offer more control than brushes in some situations.
Specialized Equipment for Large Projects
If you're tackling a big commercial space or a really large home, you might need to step up your game. Things like the Applicator 90, a 1-gallon sausage applicator, can really speed things up. It helps maintain product integrity and provides a consistent flow, which is super important when you're covering a lot of ground. It's designed for efficiency and precision, cutting down on refills and waste. For really massive jobs, you might even look into sprayers, but that's a whole other level of equipment and expertise.
Using the right applicator means you're not fighting the tool; you're working with it to get the best possible finish. It's about control and consistency, especially when you're working against the clock.
Safety Gear for Application
Don't forget about safety. Even with low-VOC finishes, it's smart to protect yourself. Good ventilation is always number one. Beyond that, gloves are a must to keep your hands clean and protected from any chemicals. If you're sanding between coats, a good respirator mask is non-negotiable to avoid breathing in dust. Eye protection is also a good idea, especially if you're using any kind of spray equipment or working overhead.
- Respirator Mask: Protect your lungs from dust during sanding and fumes during application.
- Chemical-Resistant Gloves: Keep your skin safe from the sealant.
- Safety Glasses: Protect your eyes from accidental splashes or dust.
- Ventilation: Always ensure the area is well-ventilated during and after application.
Understanding Sealant Coverage and Calculations
Estimating Product Needs Accurately
Figuring out how much sealant you'll need for your hardwood floor project can feel like a guessing game, but it doesn't have to be. Getting the coverage right is key to avoiding frustrating mid-job supply runs or, worse, having leftover product you won't use. Most professional-grade sealants, like the water-based finishes from Bailey Flooring Supplies, come with a stated coverage rate. This is usually given in square feet per gallon per coat. For example, a common rate for high-quality water-based finishes is around 500 square feet per gallon for a single coat. Remember, this is an estimate, and actual coverage can vary.
Factors Affecting Coverage Rates
Several things can influence how much sealant you actually use. The type of wood you're working with plays a role; porous woods tend to soak up more product than denser ones. The condition of the floor also matters – a freshly sanded, perfectly smooth surface will take sealant differently than one with minor imperfections. The application method is another big factor. Using a high-quality applicator designed for water-based finishes, like a good roller or T-bar, helps ensure you're applying a consistent, thin layer, which is more economical. Over-applying, or trying to 'push' too much product into the wood, is a common mistake that wastes material and can lead to application issues. It's always better to apply thin, even coats. For instance, many professional water-based finishes recommend 2-3 coats for residential use and 3-4 for commercial applications. This means you'll need to multiply your square footage by the number of coats required.
Avoiding Under- or Over-Ordering
To avoid ordering too much or too little, start by accurately measuring your floor space. Measure the length and width of each room and multiply them to get the square footage. If you have irregular shapes, break them down into simpler rectangles or squares. Once you have your total square footage, divide it by the product's stated coverage rate per gallon to find out how many gallons you need for one coat. Then, multiply that number by the number of coats recommended by the manufacturer or required for your project's durability needs. It's generally a good idea to add about 10% extra to your total to account for any spills, touch-ups, or slight variations in application. This buffer helps prevent running short on a critical part of your project. If you're unsure, reaching out to the supplier for advice is always a smart move; they can help you calculate exactly how much product you need based on your specific project details.
Always double-check the manufacturer's specifications for coverage rates and recommended coats. These are usually found on the product's technical data sheet or label. Using a primer, like LOBA EasyPrime, can also affect the overall finish system's coverage and performance.
| Product Type | Typical Coverage (sq ft/gal/coat) | Recommended Coats (Residential) | Recommended Coats (Commercial) | Notes |
|---|---|---|---|---|
| Water-Based Finish | 400-500 | 2-3 | 3-4 | Varies by brand and specific product |
| Water-Based Primer | 400-500 | 1 | 1 | Prepares surface for topcoat |
| Oil-Based Finish | 350-450 | 2-3 | 3-4 | Generally lower coverage than water-based |
| Stain | 300-400 | 1 | 1 | Coverage can vary significantly by wood type |
The Benefits of Professional-Grade Hardwood Flooring Sealants
Superior Durability for High-Traffic Areas
When you're looking to protect your hardwood floors, especially in places where people walk a lot, you really want to use something that's built to last. Professional-grade sealants, particularly the two-component water-based types, are made for this. They create a really tough surface that can handle a lot of wear and tear. Think about homes with pets, kids running around, or even busy commercial spots – these finishes hold up. They resist scratches and chemicals better than the stuff you might find at a big box store. This means fewer worries about damage and a floor that looks good for much longer.
- Better resistance to scratches and scuffs
- Stands up to spills and cleaning chemicals
- Longer lifespan compared to standard finishes
Enhanced Protection Against Chemicals and Moisture
Hardwood floors can be sensitive to moisture and certain chemicals. Spills happen, and cleaning products can sometimes be harsh. Professional sealants are formulated to create a barrier that stops liquids from soaking into the wood and causing damage like warping or staining. They also offer better protection against common household chemicals, so you don't have to stress as much if something gets spilled.
Long-Term Clarity and Non-Yellowing Properties
One of the biggest headaches with some floor finishes is that they can turn yellow or amber over time, especially when exposed to sunlight. This can really change the look of your wood, making it appear older or just not the color you wanted. Professional-grade sealants, particularly the water-based ones, are designed to stay clear. They maintain the natural color and beauty of your wood for years without that unwanted yellowing effect. This is especially important if you're going for a light or natural wood look.
| Feature | Professional Grade Sealant | Standard Sealant (Typical) |
|---|---|---|
| Yellowing Over Time | Minimal/None | Can yellow significantly |
| Chemical Resistance | High | Moderate |
| Moisture Resistance | High | Moderate |
| Durability (High Traffic) | Excellent | Good |
Keeping your hardwood floors looking great is super important, and using the right sealants makes a big difference. These special coatings protect your floors from spills, scratches, and everyday wear and tear, making them last much longer. They also bring out the natural beauty of the wood, giving it a rich, polished look. Want to give your floors the best protection? Check out our selection of top-quality sealants on our website!
Wrapping It Up
So, you've made it through the guide on hardwood floor sealants. It might seem like a lot, but picking the right stuff and putting it on right makes a huge difference. Don't just grab the first can you see. Think about your floor, how it's used, and what look you're going for. Take your time with the prep work, too – that's where a lot of jobs go wrong. If you're feeling unsure, don't be afraid to ask for help. There are plenty of pros and resources out there, like us, who can point you in the right direction. A well-sealed floor looks great and lasts for years, so it's worth doing it right the first time.
Frequently Asked Questions
What's the difference between water-based and oil-based sealants?
Think of water-based sealants as the newer, quicker option. They dry fast, don't smell as strong, and clean up easily with water. Oil-based sealants are the old-school choice. They take longer to dry and have a stronger smell, but they've been trusted for a long time for their toughness.
Do I need a primer before applying sealant?
Sometimes, yes! A primer is like a special base coat that helps the sealant stick better to the wood. It can also help make sure the color looks even. It's especially helpful if you're using a water-based sealant or if your wood is tricky.
How do I prepare my floor before sealing?
First, give your floor a really good cleaning to get rid of all the dirt and gunk. Then, you'll need to sand it smooth. This makes sure the sealant sticks well. After sanding, clean up all the dust – seriously, get every last bit!
How do I apply the sealant evenly?
The trick is to use the right tool, like a good quality roller or applicator, and apply thin, even coats. Don't try to cover too much area at once. Work in the direction of the wood grain and keep a wet edge so you don't get lines.
What does 'recoat time' mean?
Recoat time is the waiting period between applying one coat of sealant and the next. It's important to let the first coat dry enough so the next coat sticks properly, but not so long that it becomes too hard to bond well. Always check the product instructions!
How long until I can walk on my sealed floors?
You can usually walk on your floors very lightly after about 24 hours. However, the sealant needs much longer to fully harden, which is called 'curing.' It's best to avoid heavy furniture and rugs for about 7 days to let it cure completely.
What's the best way to clean my sealed floors?
Regular sweeping or vacuuming is key. When you need to mop, use a cleaner made specifically for hardwood floors and make sure it's not too wet. Avoid harsh chemicals or steam mops, as they can damage the sealant.
Can I use any sealant on any type of wood?
It's best to check! Some sealants work better with certain wood types. Also, consider how much traffic your floor gets. A high-traffic area needs a tougher sealant than a quiet bedroom. Matching the sealant to your wood and how you use the room is important.

0 comments