

So, you've painted your floors and now you're wondering how to keep them looking good, right? It's a common question. You want that fresh paint job to last, and maybe even get a bit of shine. That's where polyurethane comes in. It's like a protective shield for your floors, especially painted ones. But not all polyurethane is the same, and how you put it on really matters. We're going to walk through how to pick the right stuff and use it so your floors look great for a long time. This guide is all about making sure your painted floors stay durable and shiny.
Key Takeaways
-
Choosing the right type of polyurethane, whether water-based or oil-based, and the desired sheen, is important for the final look and durability of your painted floors.
-
Proper surface preparation, including cleaning and sanding, is the most critical step for ensuring the polyurethane adheres well and lasts.
-
Applying polyurethane in thin, even coats using the correct tools and allowing adequate drying time between coats is key to a smooth, professional finish.
-
Understanding the difference between 'dry' and 'cure' times is vital; floors may seem dry but need full curing before heavy use to prevent damage.
-
Regular cleaning with appropriate products and protecting the floor from wear and tear will help maintain the shine and extend the life of your polyurethane finish.
Understanding Polyurethane For Painted Floors
The Role of Polyurethane in Floor Protection
Polyurethane is a type of plastic coating that's really good at protecting surfaces. When you put it on a painted floor, it acts like a shield. Think of it as a clear, tough layer that sits on top of your paint. This layer takes the brunt of the wear and tear that floors go through every day. Without it, your paint job would get scratched, scuffed, and faded pretty quickly, especially in busy areas. Polyurethane helps keep the paint looking fresh and new for a lot longer.
Why Choose Polyurethane for Painted Surfaces
So, why polyurethane specifically for painted floors? Well, it's known for being super durable. It's resistant to a lot of things that can damage a floor, like spills, scuffs, and general foot traffic. Unlike some other finishes, polyurethane doesn't usually yellow over time, which is important if you want your paint color to stay true. It also comes in different finishes, from a super shiny gloss to a more subtle matte look, so you can pick what works best for your style. It’s a reliable choice for adding a protective, long-lasting finish over paint.
Key Benefits of Professional-Grade Polyurethane
When you step up to professional-grade polyurethane, you're getting something a bit more robust than what you might find in a basic DIY store. These products are often formulated for commercial use, meaning they're built to handle heavy traffic and tough conditions. They tend to have better resistance to chemicals and abrasion, which is a big plus for painted floors that might see spills or heavy furniture. Plus, professional formulas often apply more smoothly and level out better, reducing the chances of streaks or an uneven finish. This means a better-looking floor and less hassle during application.
-
Superior Durability: Stands up to heavy foot traffic and daily wear.
-
Chemical Resistance: Protects against spills and common household cleaners.
-
Scratch and Scuff Resistance: Keeps painted surfaces looking newer for longer.
-
UV Protection (often): Helps prevent paint colors from fading due to sunlight.
-
Variety of Sheens: Available in matte, satin, semi-gloss, and gloss to match your aesthetic.
Using a professional-grade product means you're investing in a finish that's designed for performance and longevity, giving you peace of mind that your painted floor will look great for years to come.
Selecting the Right Polyurethane For Painted Floors
Water-Based vs. Oil-Based Polyurethane
When you're looking to put a protective coat over your painted floors, you've got a couple of main choices for polyurethane: water-based and oil-based. They both do the job of protecting your paint, but they go about it a bit differently, and the results can vary. It's not just about picking one; it's about picking the right one for your specific floor and how you plan to use it.
Water-based polyurethanes are pretty popular these days, and for good reason. They dry fast, which is a big deal if you need to get your floor back in use quickly. Plus, they don't have that strong, lingering smell that oil-based ones do, making them a lot nicer to work with, especially if you're doing this in a home where people are living. They also tend to stay clear over time, meaning they won't yellow your paint color. This is a huge plus if you've got a specific color you want to keep looking exactly as it is.
On the flip side, oil-based polyurethanes have been around forever, and they're known for being tough. They often create a harder finish that can stand up to a lot of wear and tear. They also tend to give wood a bit of a warmer, amber tone, which some people really like. However, they take a lot longer to dry, and the fumes can be pretty intense, so you'll want good ventilation. Cleanup is also a bit more of a hassle, usually requiring mineral spirits.
Here’s a quick rundown:
|
Feature |
Water-Based Polyurethane |
Oil-Based Polyurethane |
|---|---|---|
|
Dry Time |
Fast (recoat in 2-3 hours) |
Slow (recoat in 8-24 hours) |
|
Odor/VOCs |
Low odor, low VOCs |
Strong odor, high VOCs |
|
Clarity |
Stays clear, no yellowing |
Tends to amber/yellow over time |
|
Hardness |
Very durable, but can be slightly less hard |
Very hard, excellent scratch resistance |
|
Cleanup |
Water and soap |
Mineral spirits |
|
Appearance |
Maintains original paint color |
Adds a warm, amber tone |
For painted floors, especially if you want to keep the original paint color true, a good quality water-based polyurethane is often the way to go. It offers great protection without changing the look of your paint, and the faster drying times make the whole process much smoother.
Sheen Options: Matte to Gloss
Once you've decided on the type of polyurethane, you'll need to pick a sheen. This is basically how shiny or dull the finish will look. It's not just about looks, though; the sheen can affect how the floor wears and how easy it is to clean.
-
Gloss: This is the shiniest option. It reflects a lot of light, making the floor look bright and almost wet. It can make a space feel bigger and more open. On the downside, gloss finishes show every little scratch, scuff, and bit of dust. They can also be a bit slippery.
-
Semi-Gloss: A step down from gloss, semi-gloss still has a noticeable shine but is less reflective. It offers a nice balance between brightness and a more subdued look. It's a popular choice because it hides minor imperfections better than gloss.
-
Satin: This is probably the most common choice for floors. Satin has a soft luster that looks elegant without being overly shiny. It hides wear and tear pretty well and provides a smooth, appealing finish.
-
Matte (or Flat): This is the least shiny option, giving the floor a very natural, almost raw look. It hides imperfections extremely well and provides a very sophisticated, low-key appearance. If you want your painted floor to look like it's just painted, with minimal added shine, matte is the way to try.
The sheen you choose can really change the whole feel of your room. A high gloss can make a small room feel larger, while a matte finish can give a more modern, understated vibe. Think about the overall style you're going for before you pick.
When you're coating a painted floor, the sheen can also affect how the paint color appears. Glossier finishes can sometimes make colors look a bit more vibrant, while matte finishes can make them look softer or deeper. It's a good idea to get some samples and test them out on a scrap piece of painted material if you can, just to see how the sheen interacts with your specific paint color.
Considering Two-Component (2K) Systems
For the absolute best durability and protection, especially on painted floors that get a lot of foot traffic, you might want to look into two-component, or 2K, polyurethane systems. These aren't your average off-the-shelf finishes; they're built for serious performance.
A 2K system comes in two parts: the main polyurethane resin (Part A) and a hardener or catalyst (Part B). You mix these together right before you apply the finish. This chemical reaction creates a much stronger, more resilient coating than a standard one-component (1K) polyurethane. Think of it like mixing ingredients for a cake – you need both to get the right result.
Why would you go with a 2K system for a painted floor?
-
Superior Durability: These finishes are incredibly tough. They offer much better resistance to scratches, chemicals, and wear. This is ideal for high-traffic areas, homes with pets, or commercial spaces.
-
Longer Lifespan: Because they're so durable, 2K finishes tend to last a lot longer, meaning you won't have to recoat as often.
-
Chemical Resistance: They hold up better against spills and cleaning products, which is a big plus for floors.
-
Professional Grade: These are the types of finishes that professional flooring contractors use because they know they can rely on the performance.
When you're working with a 2K system, it's really important to follow the manufacturer's instructions precisely for mixing. You usually have a limited pot life – that's the amount of time you have to use the mixture after you've combined the two parts. So, you'll want to mix only what you can apply within that timeframe. This usually means working in smaller batches.
While 2K systems offer top-tier protection, they can sometimes be a bit trickier to apply than 1K finishes due to the mixing and pot life. However, for a painted floor that needs to withstand a lot, the extra effort is usually well worth it. Bailey Flooring Supplies often carries professional-grade 2K water-based finishes that are designed for excellent performance and can even have low-VOC options, making them a great choice for demanding projects.
Surface Preparation: The Foundation for Durability
Alright, let's talk about getting your painted floors ready for a polyurethane finish. This part is super important, maybe even more than the actual coating. If you skip steps here, you're asking for trouble down the road, like peeling or a finish that just doesn't look right. Think of it like building a house – you wouldn't skimp on the foundation, right? Same idea applies here.
Thorough Cleaning and Degreasing
First things first, you gotta get that floor clean. We're talking about removing every speck of dirt, grease, grime, and anything else that might be stuck on there. If you've got old wax or polish on the floor, that's gotta go too. Use a good degreaser and a stiff brush, and really work it in. Rinse it thoroughly with clean water, and then let it dry completely. Don't rush this. A clean surface is key for the polyurethane to stick properly.
Sanding Techniques for Optimal Adhesion
Now, for the sanding. This step is all about creating a surface that the polyurethane can really grab onto. For painted floors, you're not usually going for a super-smooth, bare-wood feel like you would with a natural finish. Instead, you want a light "tooth" for the coating to adhere to. A good rule of thumb is to use a fine-grit sandpaper, something like 150 or 180 grit. You can use a pole sander or even a good orbital sander for larger areas. The goal isn't to remove the paint, but to scuff it up just enough. Make sure you sand in the direction of the wood grain if possible. After sanding, you'll have a fine dust everywhere.
Final Dust Removal Protocols
This is where you get serious about dust. After sanding, vacuum the entire floor thoroughly. Use a shop vac with a good filter. Don't just sweep; you'll kick up more dust than you remove. Once you've vacuumed, you need to "tack" the floor. This means using a slightly sticky cloth, often called a tack cloth, to pick up any remaining fine dust particles. Wipe the floor down with the tack cloth, going over it multiple times. You might even want to do a final wipe with a damp (not wet!) cloth, using a cleaner recommended for water-based finishes, and let it dry completely. The cleaner the floor is before you apply that first coat of polyurethane, the better your finish will look and the longer it will last.
Application Techniques for a Flawless Finish
Getting that perfect, smooth finish on your painted floors with polyurethane isn't just about the product; it's really about how you put it on. Think of it like painting a car – you can have the best paint, but if you don't prep and apply it right, it's just not going to look good. With polyurethane, especially the water-based stuff we're talking about, a little care goes a long way.
Mixing and Preparing Your Polyurethane
First off, you gotta mix it right. If you're using a two-part system, which a lot of the pro-grade stuff is, you need to blend the catalyst in properly. Don't just shake it up and hope for the best. Follow the instructions on the can to the letter. For single-part finishes, give it a good, slow stir. You don't want to whip a bunch of air into it, because that leads to bubbles later on. Just gently mix it until everything looks uniform.
Applying Thin, Even Coats
This is probably the most important part. You want to apply thin, even coats. Seriously, thin is better than thick here. Thick coats can lead to drips, uneven drying, and a finish that just doesn't hold up well. Use a good quality roller or applicator that's made for water-based finishes. A high-density foam roller or a microfiber roller usually works best. Work in manageable sections, and try to maintain a wet edge. This means overlapping your strokes slightly into the area you just coated while it's still wet. This helps avoid lap marks, which are those ugly lines you get when one section dries before you coat the next.
-
Work with the grain: Always apply in the direction of your wood grain or the longest dimension of your painted surface.
-
Avoid overworking: Once you've laid down a coat, try not to go back over it too much. This can mess up the leveling and introduce air bubbles.
-
Consistent pressure: Try to keep your pressure consistent as you roll or brush. This helps ensure an even film thickness.
Using the Right Tools: Rollers and Applicators
Don't skimp on your tools. Using a cheap, shedding roller is a recipe for disaster. You'll end up picking little bits of fuzz out of your finish for days. For water-based polyurethanes, a high-quality microfiber roller cover is usually the way to go. They hold a good amount of product, lay it down smoothly, and don't shed much. If you're doing edges or smaller areas, a good quality synthetic brush will work, but again, make sure it's designed for water-based products.
For those tricky corners or areas where a roller can't reach, a good synthetic brush is your friend. Just be sure to use light, even strokes and avoid overloading the brush. The goal is to blend it in seamlessly with the rolled areas.
Some pros even use T-bar applicators or specialized tools for larger areas, but for most DIY projects, a good roller and brush will get the job done if you use them right. Remember, clean tools mean a cleaner finish. Make sure everything is spotless before you start and clean them thoroughly right after you're done.
Achieving Maximum Durability with Multiple Coats
Understanding Recommended Coat Counts
When you're putting down a polyurethane finish, especially on painted floors, you can't just slap on one coat and call it a day. The number of coats you apply really makes a difference in how long that finish lasts and how good it looks over time. For most homes, especially if you've got kids or pets running around, two to three coats is usually the sweet spot. It gives you a good balance of protection and doesn't make the finish too thick, which can sometimes cause problems down the line. If you're dealing with a commercial space or an area that gets a ton of foot traffic, you'll want to bump that up to three or even four coats. More coats mean more layers of protection against scratches, scuffs, and general wear and tear. It's like building up armor for your floor.
Intercoat Abrasion and Dust Removal
After you've put down a coat of polyurethane and it's had a chance to dry, you'll notice it might not be perfectly smooth. There could be tiny imperfections, maybe a bit of dust that settled in, or just a slight roughness. This is where intercoat abrasion comes in. It's not about heavy sanding; it's more like a light scuffing. You can use a fine-grit sanding screen, something like 220 grit, or even a synthetic steel wool pad. The goal is just to knock down any little bumps or high spots and create a slightly roughened surface. This helps the next coat of polyurethane stick better, which is super important for building up a strong, durable finish. After you do this light sanding, you absolutely have to clean up all the dust. Vacuum thoroughly, then use a tack cloth or a slightly damp (not wet!) microfiber cloth to pick up every last bit of dust. If you don't get all the dust, it'll just get sealed into the next coat, and you'll see little specks under the finish. Nobody wants that.
The Importance of Proper Drying Times
This is one of those things that seems simple, but it's really easy to mess up. You've got to let each coat of polyurethane dry properly before you put the next one on. The manufacturer will tell you how long this usually takes, and it's usually a few hours for water-based finishes, maybe 2-3 hours. But that's just 'dry to the touch' time. It doesn't mean it's ready for another coat. You need to follow their recommendations for recoating. If you try to put a new coat on too soon, while the one underneath is still a bit wet or not fully set, you can run into problems. The new coat might not adhere correctly, it could cause bubbling, or you might end up with a finish that never really hardens up properly. It's tempting to rush, especially when you've got a big project, but patience here really pays off in the long run. Letting each layer cure properly is key to building up that tough, long-lasting finish.
Curing and Final Curing Times
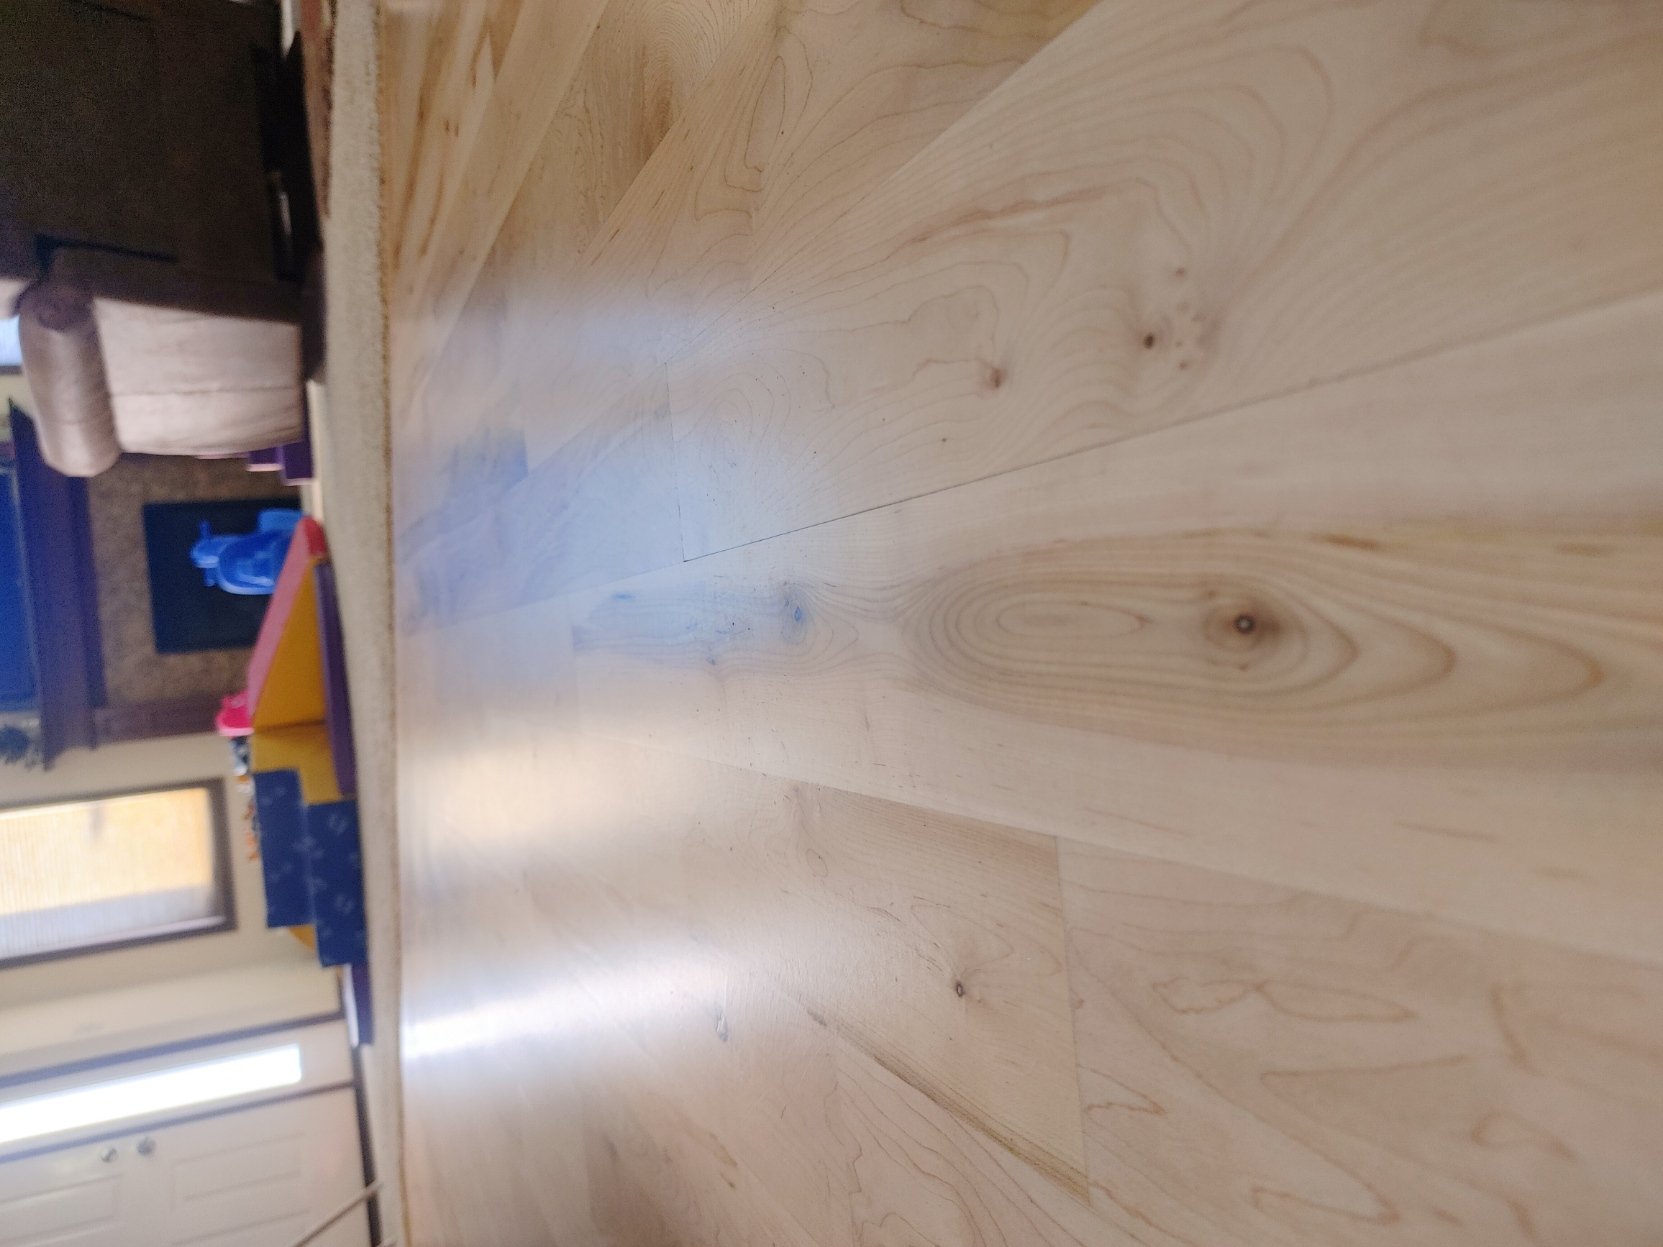
Distinguishing Between Dry and Cure Times
It's easy to get confused between when a finish is dry to the touch and when it's fully cured. Dry time is how long it takes for the surface to feel dry and for you to be able to recoat it without messing it up. Cure time, on the other hand, is how long it takes for the finish to reach its maximum hardness and durability. Think of it like this: dry is like the paint on your wall being dry enough to touch, but cure is when it's tough enough to take a beating. For polyurethane on painted floors, this difference is pretty important.
Allowing for Full Hardening Before Use
Most water-based polyurethanes will feel dry within a few hours, and you can usually put on a second coat after 2-3 hours. But don't be fooled! That finish is still pretty soft. You need to wait for the full cure time before you can really use the floor. This usually means keeping light foot traffic off for at least 24 hours, and avoiding heavy furniture or rugs for about 7 days. If you put too much stress on it too soon, you risk scratching, denting, or otherwise damaging that nice new finish before it's had a chance to really set up.
Factors Affecting Cure Rates
Several things can speed up or slow down how fast your polyurethane cures. The temperature and humidity in the room play a big role. Warmer temperatures and moderate humidity (around 50%) are usually best for curing. If it's too cold or too humid, the curing process can take much longer. Also, the type of polyurethane matters. Some are formulated to cure faster than others. Always check the product's technical data sheet for the specific times recommended by the manufacturer. It's better to wait a little longer than to risk damaging your floor.
|
Factor |
Effect on Cure Time |
|---|---|
|
Temperature |
Warmer speeds up cure; colder slows it down. |
|
Humidity |
Moderate (around 50%) is ideal; too high or low slows cure. |
|
Airflow |
Good ventilation can help, but avoid direct drafts. |
|
Coat Thickness |
Thicker coats take longer to cure. |
|
Product Type |
Some formulations cure faster than others. |
Maintaining the Shine and Longevity of Your Floor
Regular Cleaning Best Practices
Keeping your polyurethane-finished floors looking good long-term is pretty straightforward, honestly. It’s mostly about regular, gentle cleaning. You don't need fancy equipment or a whole afternoon. Just a quick sweep or vacuum a few times a week really makes a difference. This gets rid of the grit and dust that can scratch the finish over time. Think of it like dusting your furniture – it’s just basic upkeep.
Recommended Cleaning Products
When it's time for a more thorough clean, stick to what works. For polyurethane-coated floors, a pH-neutral cleaner is your best bet. We’ve found that products like LOBA Parkett Soap R2U are excellent. They clean well without leaving any residue or damaging the finish. Avoid anything too harsh, like ammonia-based cleaners or abrasive scrubbing pads. Those can dull the sheen and even wear down the protective layer faster than you'd think. A good quality microfiber mop is usually all you need for cleaning.
Protecting Against Wear and Tear
Little things can go a long way in protecting your floor. Putting felt pads on the bottom of furniture legs is a must. It stops chairs and tables from scratching the floor when they get moved. Also, try to avoid dragging heavy items across the floor. If you have pets, keeping their nails trimmed can help too. For areas with really high traffic, like entryways, a good doormat can catch a lot of dirt and moisture before it even gets onto your finished floor. It’s all about being a bit mindful of how the floor is used day-to-day.
|
Item |
Recommendation |
|---|---|
|
Furniture Legs |
Felt pads |
|
Heavy Items |
Use furniture sliders or get help moving |
|
Pets |
Keep nails trimmed |
|
Entryways |
High-quality doormats |
|
Cleaning |
pH-neutral cleaner, microfiber mop |
Troubleshooting Common Polyurethane Application Issues
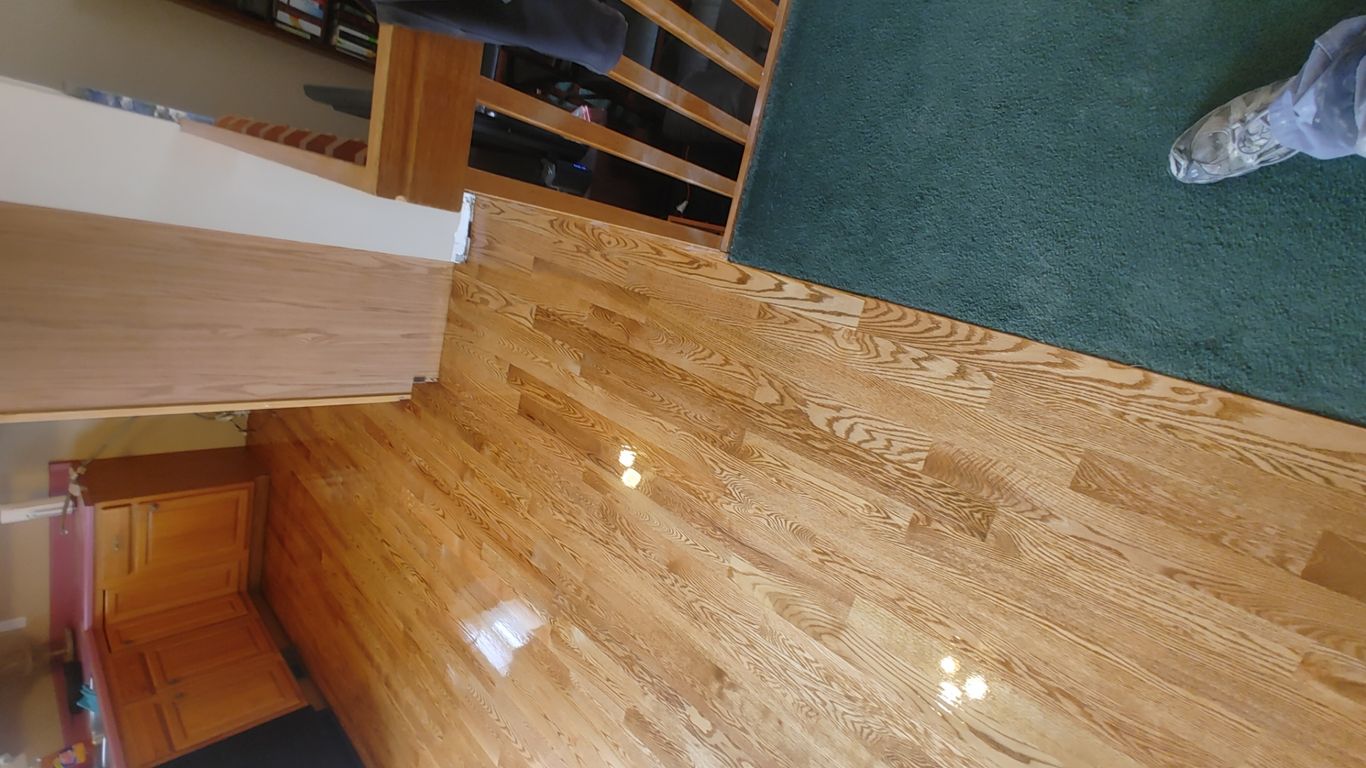
Even with the best preparation and the highest quality products, sometimes things don't go exactly as planned when applying polyurethane. Don't sweat it; most common issues have straightforward solutions. Knowing what to look for and how to fix it can save you a lot of headaches and ensure your painted floor looks its best.
Addressing Streaking and Unevenness
Streaks or an uneven finish are often the result of inconsistent application or the wrong tools. This can happen if the polyurethane isn't spread evenly or if the applicator is leaving marks.
-
Application Technique: Always apply polyurethane in thin, even coats. Overloading your roller or brush can lead to puddles and thick spots that dry unevenly. Work in a consistent direction, usually with the grain of the wood if you're working over a stained surface, or in long, overlapping strokes on a painted floor.
-
Tool Choice: Using a high-quality applicator designed for water-based finishes is key. Cheap rollers can shed fibers, and some applicators might not spread the product smoothly. A good microfiber roller or a quality synthetic brush is usually your best bet.
-
Environmental Factors: Extreme temperatures or drafts can cause the finish to dry too quickly, leading to lap marks and streaks. Try to maintain a consistent room temperature and avoid direct sunlight or strong fans during application.
If you notice streaking after the coat has dried, you can often fix it by lightly sanding the affected area with a fine-grit sandpaper (220 grit or higher) and then applying another thin, even coat. Make sure to thoroughly clean up any dust before recoating.
Dealing with Bubbling or Foaming
Bubbles or foam in your polyurethane finish can make the surface look rough and unprofessional. This usually happens when the product is agitated too much or applied too thickly.
-
Over-Mixing: Avoid vigorous stirring or shaking of the polyurethane. This whips air into the product, creating bubbles that get trapped in the finish. If you're using a two-component system, mix gently but thoroughly.
-
Application Speed: Applying the finish too quickly can also introduce air. Work at a steady, controlled pace.
-
Moisture Issues: Sometimes, moisture trapped in the wood or from high humidity can cause bubbling. Ensure your painted surface is completely dry and that humidity levels are within the recommended range during application and drying.
If you encounter bubbles, let the coat dry completely. Then, gently sand the surface smooth with fine-grit sandpaper and apply another thin coat, paying close attention to your application technique. For persistent foaming, consider using a de-foaming agent if recommended by the manufacturer, or try a different applicator.
Resolving Adhesion Problems
Poor adhesion, where the polyurethane peels or chips off, is usually a sign of inadequate surface preparation or applying the finish over an incompatible surface.
-
Surface Prep is Paramount: This is the most common culprit. The painted surface must be clean, dry, and free of any contaminants like grease, wax, or old finishes. If the paint itself isn't well-adhered, the polyurethane won't stick either.
-
Compatibility: Ensure the polyurethane you're using is compatible with the type of paint on your floor. Some paints, especially certain latex or chalk paints, might not provide a suitable base for polyurethane without a specific primer. Always test in an inconspicuous area first.
-
Drying and Cure Times: Applying a new coat before the previous one has adequately dried can lead to adhesion issues. Rushing the process is a common mistake.
If you have adhesion problems, the affected areas will likely need to be stripped back to the original paint or bare surface, re-prepped, and then recoated. For future projects, always follow the preparation steps meticulously. Using a compatible primer, like LOBA EasyPrime, can significantly improve adhesion, especially on challenging surfaces. This primer is designed to create an optimal bonding surface for water-based finishes, helping to prevent common issues and ensure a durable, long-lasting result.
Professional Insights on Polyurethane for Painted Floors
Why Contractors Trust Professional-Grade Products
Look, when you're on a job, time is money, and callbacks are the worst. That's why seasoned pros, the guys who do this day in and day out, tend to stick with what works. We're talking about finishes that are built tough, not just for a weekend warrior's project, but for floors that see serious action. Professional-grade products, like those from Bailey Flooring Supplies, are formulated with better resins and additives. This means they lay down smoother, cure harder, and resist scratches and chemicals way better than the stuff you grab off the shelf at the big box stores. It's about getting a consistent, durable finish the first time, every time. You don't want to be redoing a floor because the finish failed after a year, right? That's why we invest in quality.
The Advantages of Low-VOC Formulations
Nobody likes working in a cloud of fumes, and frankly, neither do our clients. That's where low-VOC (Volatile Organic Compounds) finishes really shine. Modern water-based polyurethanes have come a long way. They offer performance that rivals or even beats traditional oil-based finishes, but with a much lower odor and a healthier profile for everyone involved – the applicator, the homeowners, and the environment. This means faster re-occupancy for the space, which is a huge plus on any project. Plus, cleanup is usually just soap and water, which is a lot easier than dealing with mineral spirits. It’s a win-win for performance and practicality.
When to Seek Expert Advice
Sometimes, you run into a situation that's a bit outside the norm. Maybe it's a really old, tricky floor, or you're trying to achieve a specific look that's not standard. That’s when it pays to ask for help. Bailey Flooring Supplies has folks who know their stuff. They can help you figure out the right primer, the best topcoat for your specific needs, or even troubleshoot a problem you're having. Don't guess when you can get solid advice. Reaching out for expert guidance can save you time, money, and a whole lot of headaches down the road. It’s better to ask a question than to make a costly mistake on a job. You can always get expert advice when you're unsure about product selection or application.
Want to make your painted floors look amazing and last longer? Polyurethane is a fantastic choice! It adds a tough, shiny layer that protects against scratches and spills. Learn more about how polyurethane can transform your floors. Visit our website today to explore our selection of top-quality polyurethane finishes and get expert advice!
Wrapping It Up
So, we've gone over how to get your floors looking good and staying that way with polyurethane. It's not rocket science, but you do need to pay attention to the details, like cleaning up all the dust and letting coats dry right. Using the good stuff, like the professional-grade water-based finishes you can find at Bailey Flooring Supplies, makes a big difference. They hold up better, especially in busy homes, and they don't change the wood's natural color. Just remember to prep right, apply it evenly, and give it enough time to fully harden before you start moving furniture back. A little care goes a long way in keeping those floors looking sharp for years.
Frequently Asked Questions
What exactly does polyurethane do for painted floors?
Polyurethane acts like a tough, clear shield on top of your painted floor. It guards the paint from scratches, spills, and everyday wear and tear, making it last much longer and keeping it looking good.
Why should I pick polyurethane for a painted floor instead of just leaving it painted?
Paint alone can chip and scratch easily. Polyurethane adds a strong protective layer that keeps the paint looking fresh and new, even in busy areas. It also gives the floor a nice sheen, making the colors pop and the surface easier to clean.
What's the difference between water-based and oil-based polyurethane?
Water-based polyurethane dries faster, has less smell, and stays clear over time without turning yellow. Oil-based polyurethane is a bit tougher but takes longer to dry, has a stronger smell, and can give the floor a yellowish tint, especially over lighter paint colors.
How many coats of polyurethane do I need to apply?
For most homes, two to three coats are usually enough to provide good protection. If the floor gets a lot of heavy use, like in a busy household or a commercial space, you might want to add a third or even a fourth coat for extra strength.
How long do I have to wait before I can walk on the floor after applying polyurethane?
You can usually walk on the floor very lightly after about 24 hours. However, it takes about 7 days for the polyurethane to fully harden and be ready for heavy furniture or lots of foot traffic. Waiting longer is always better for maximum durability.
What's the best way to clean a floor with polyurethane on it?
Keep it simple! Sweep or vacuum regularly to pick up dirt and grit. When you need to wash it, use a damp mop with a cleaner specifically made for polyurethane or wood floors. Avoid harsh chemicals or too much water, as they can damage the finish.
My floor looks streaky after applying polyurethane. What did I do wrong?
Streaks often happen if the polyurethane wasn't applied evenly or if the coats were too thick. Make sure you're applying thin, even coats and that your roller or applicator is spreading the product smoothly. Sometimes, a light sanding between coats can help fix minor issues.
Do I really need to use a 'professional-grade' polyurethane?
Professional-grade polyurethane is made with better ingredients and is designed to be more durable and easier to apply consistently. While it might cost a bit more, it often leads to a much better, longer-lasting finish, saving you time and hassle in the long run.

0 comments